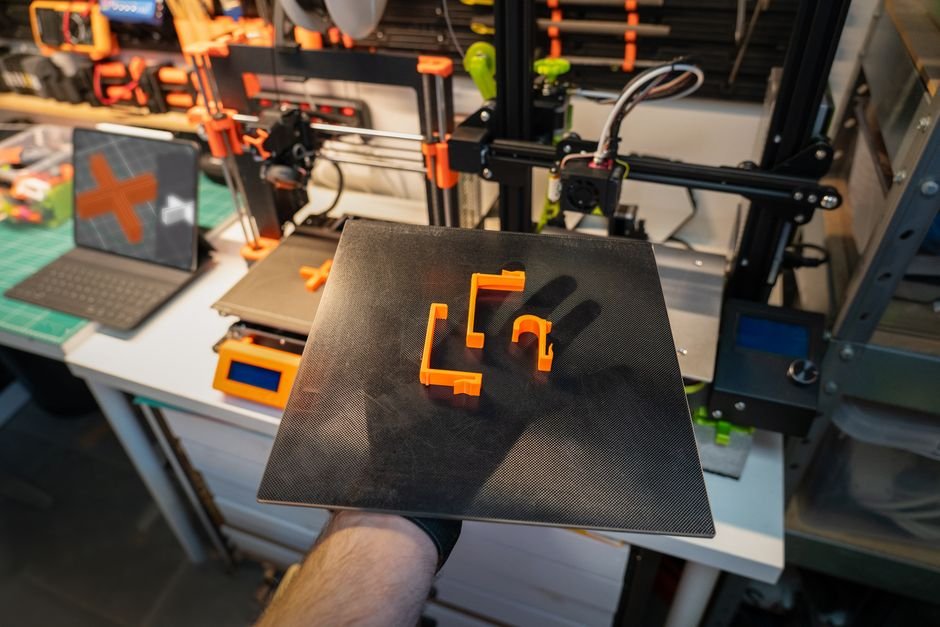
Getting Smooth 3D Prints: A Quick Look
Ever just stare at your fresh 3D prints and wonder why they always look… well, kinda bumpy? Most plastic stuff we use gleams, right? But your prints? Lots of visible layers. Not just weird quirks, either. These are a real headache for anyone chasing that pro look. Getting that killer 3D print surface quality isn’t some secret magic trick. It’s a method. Changes everything about your projects.
Can you really take some raw, layered plastic and make it shine? Turn it into something you want to show off? Yeah, absolutely.
Why Your Prints Look Rough (Spoiler: It’s the Process)
It’s just how additive manufacturing works, honestly. Your printer builds, layer by layer. Stacks up plastic like tiny, invisible bricks. And the higher your layer height, the faster the print whizzes, but you pay for it. With the feel. You get texture.
And another thing: Slap that print under a microscope? Even clearer. Not just vague bumps. Distinct peaks and valleys. Think little mountains.
“Peaks” and “Valleys”: The Things We’re Fixing
Those shiny spots you see? Peaks. High points. Where light bounces. The duller, sunken parts? Valleys. To really get it, some folks even use a pen. Marks those high spots. Leaves the valleys untouched. Makes the whole mess painfully obvious.
Understanding these imperfections? That’s step one. Because once you know your enemy, picking the right weapon is easy.
How to Get That Smooth Finish: Sanding, Filling, & Hybrids
So, how do you ditch that layered look? A few main ways to get a super-smooth surface.
One classic route? Sand ’em down. Grind all those pesky peaks until they’re even with the lowest valley spots. Removes all texture. This can be a real pain, especially on small, intricate bits.
Another strategy involves filling ’em in. You grab some material – paint or a filler – and bring those valleys up to the peaks’ level. No more low spots. Smooth surface.
Then there’s the clever option: a hybrid approach. You sand the peaks partway. Just shrink those valleys. Then, use filler or paint to cover up the smaller gaps left. Often the most efficient path to that mirror shine. And another thing: Acetone vapor smoothing is another big one, especially for ABS prints. Different kind of finish entirely.
Sanding Grit: Start Coarse, Go Fine
Now, if you’re going for sanding, don’t just grab whatever. It’s all about the grit. Start rough. Then go finer. Step by systematic step.
Typically, you’d kick things off with 200-grit sandpaper. Your workhorse. Knocks down those strong peaks. Once those are mostly gone, and it feels okay, you stop.
Next up: 400-grit. Then 600-grit. After that, 800-grit. And finally, 1000-grit. Each step refines the surface. Wipes out the tiny scratches from the previous, coarser paper. This planned approach? Key to real smoothness.
Machine vs. Manual Sanding: Be Smart, Be Patient
Power tools? Sure, they can speed things up. An orbital sander blasts through broad, flat surfaces. But be careful: too much pressure or an impatient hand and you’re removing too much. Leaving deep holes. That means starting all over. Or worse, trashing the print.
But for detailed parts, intricate curves, and when you’re using those finer grits, manual sanding is your best pal. Requires patience? Absolutely. But it gives you control. You really get into those tiny spots without accidentally gouging new valleys. Slow and steady wins the race here.
The Payoff: Smooth, Shiny Prints!
After all that effort, the difference is huge. Seriously! A raw print versus a properly finished one? Night and day. Where you saw layers and dullness, now you’ve got a sleek, smooth object that practically gleams. Run your hand over it. Feels expensive. Not like it just popped off a machine.
Looking close after sanding? Those peaks and valleys are almost gone. Just a much better structure. And you can push it further. Polish away tiny lines. Ultra-fine grits. Max that shine.
It’s about turning good ideas into awesome physical things. Don’t let rough surfaces keep your 3D prints from being stellar.
Quick Q&A
Q: Why don’t my 3D prints come out smooth right away?
A: Because of how 3D printing works. Things build layer by layer. This creates visible lines and surface imperfections. Usually, “peaks” and “valleys,” lowering how it looks.
Q: What are “peaks” and “valleys” on a 3D print?
A: “Peaks” are the raised parts of the layer lines. Often shiny. “Valleys” are the sunken areas between them. Usually duller. These are the main things we fix in post-processing.
Q: What’s the best grit order for sanding a 3D print?
A: Start coarse, like 200. Removes major flaws. Then go up in grit: 400, 600, 800. And finally, 1000. Gets it super smooth. Ready for more work.